
I’ve been planning this post for ages – since I made some totes for my friends 2 years ago. I failed to take decent photos at the time, though, so when I decided to make a bag for one of my friends at work, I made sure to take plenty of step-by-step photos.
What you will need to make a tote bag:

The dimensions of calico/ muslin that you need to cut are:
2 42cm x 42cm (for the sides)
1 42cm x 10cm (for the bottom)
2 84cm x 10cm (for the straps)
I have decorated each of the bags I’ve made with things the person would like, such as a strawberry for my friend who loves…..well….strawberries:

or a car for my car-mad friend:

The bag I photographed was for one of my many, many friends who are obsessed with BBCs Sherlock starring Benedict Cumberbatch and Martin Freeman. The templates I used here are the same as the ones I used for the Sherlock-themed Kindle case I made for my aunt.

The theory for making these silhouettes is the same for whatever decoration you decide to add. I’ve always used felt, so that it doesn’t fray.

Pin your felt pieces to one of the sides. I don’t usually measure where the middle is, I just guess and make sure they look like they’re vaguely in the middle. If you do want to measure the middle, though, you can fold your fabric in half and in half again, then mark the point.

You then need to sew all around the edges of your shapes. This can be quite fiddly so I turn the needle by hand a lot and go very slowly when using the peddle. For going around any corners (of which there are loads for these silhouettes!), keep the needle down in the fabric, lift the foot and swivel the fabric, putting the foot back down before you carry on.

Make sure you take your pins out as you go around, so the needle doesn’t hit any and jam your machine. It’s especially important for a complicated shape like Sherlock, as you might hit the head of a pin on the other side of the shape if you don’t take them out.

It’s not vital to be super, super accurate (as long as your thread is a good match for your felt), as you can’t really see the stitching too well unless you’re really looking for it.

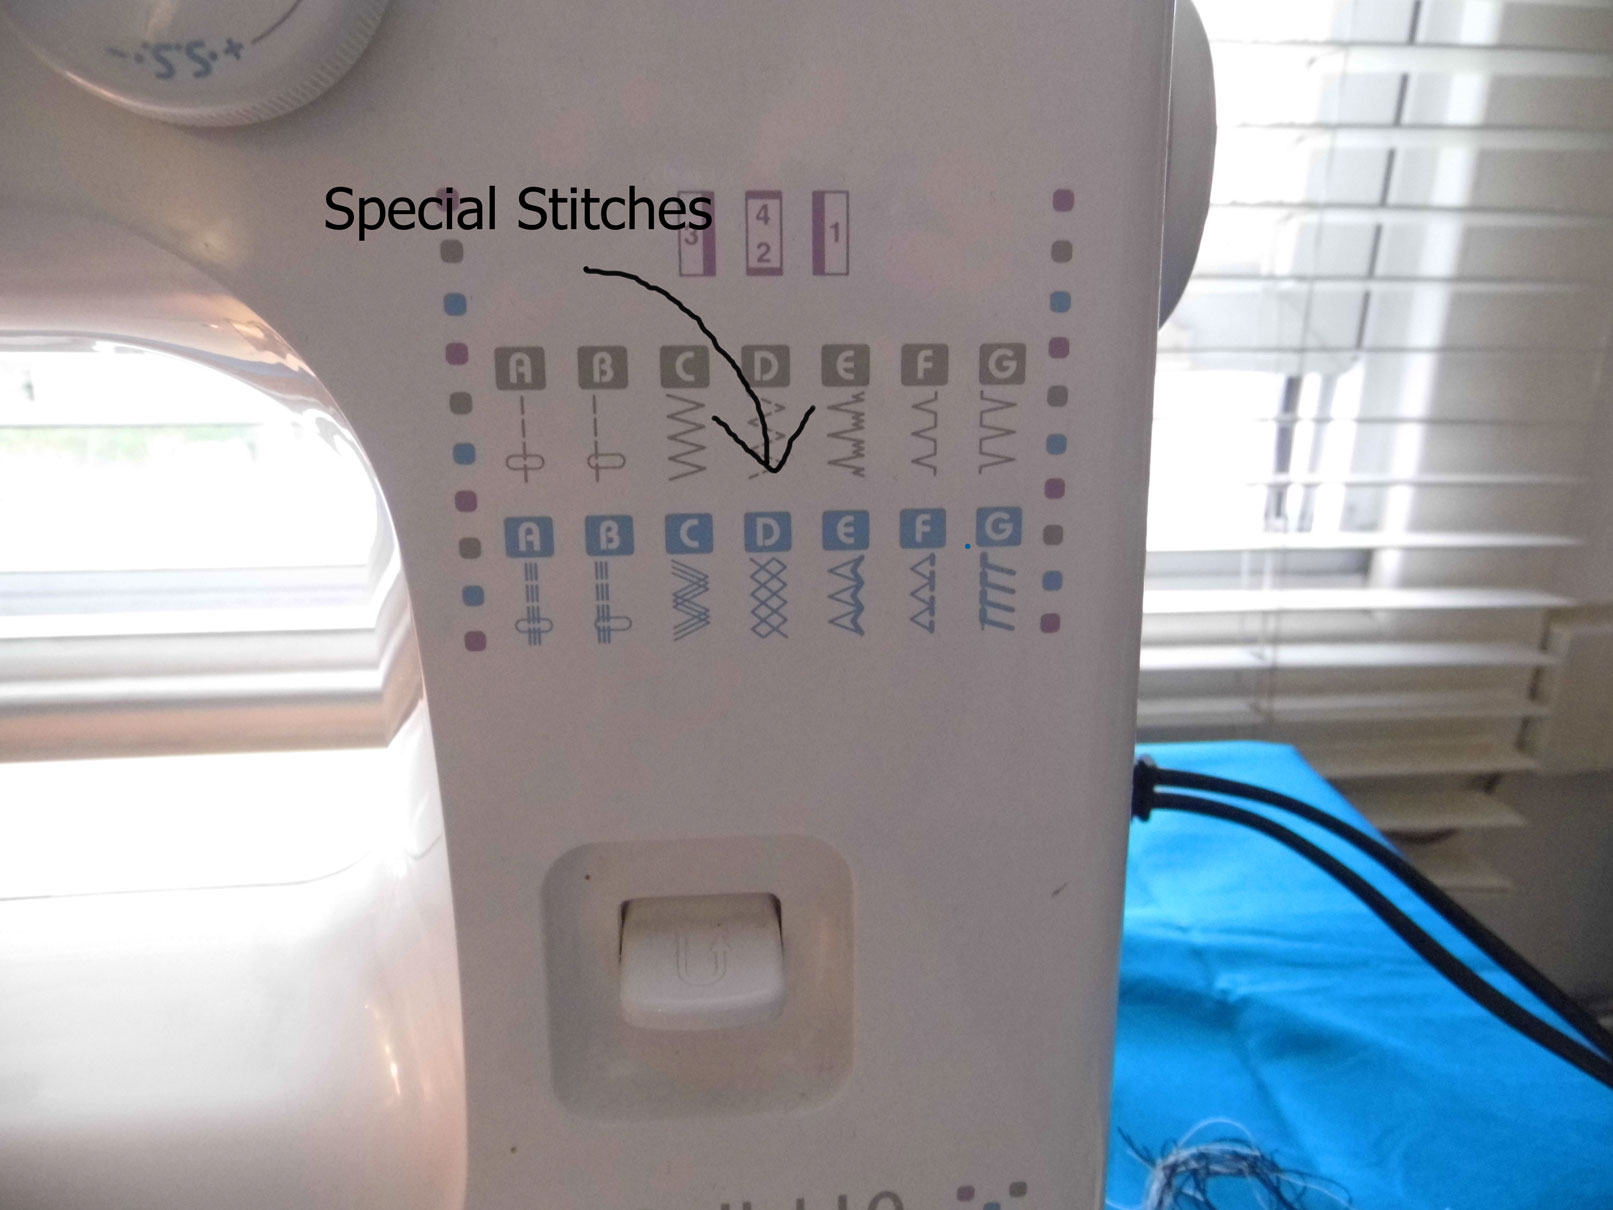
Another way you can decorate your tote bag is with some of the decorative stitches on your machine.
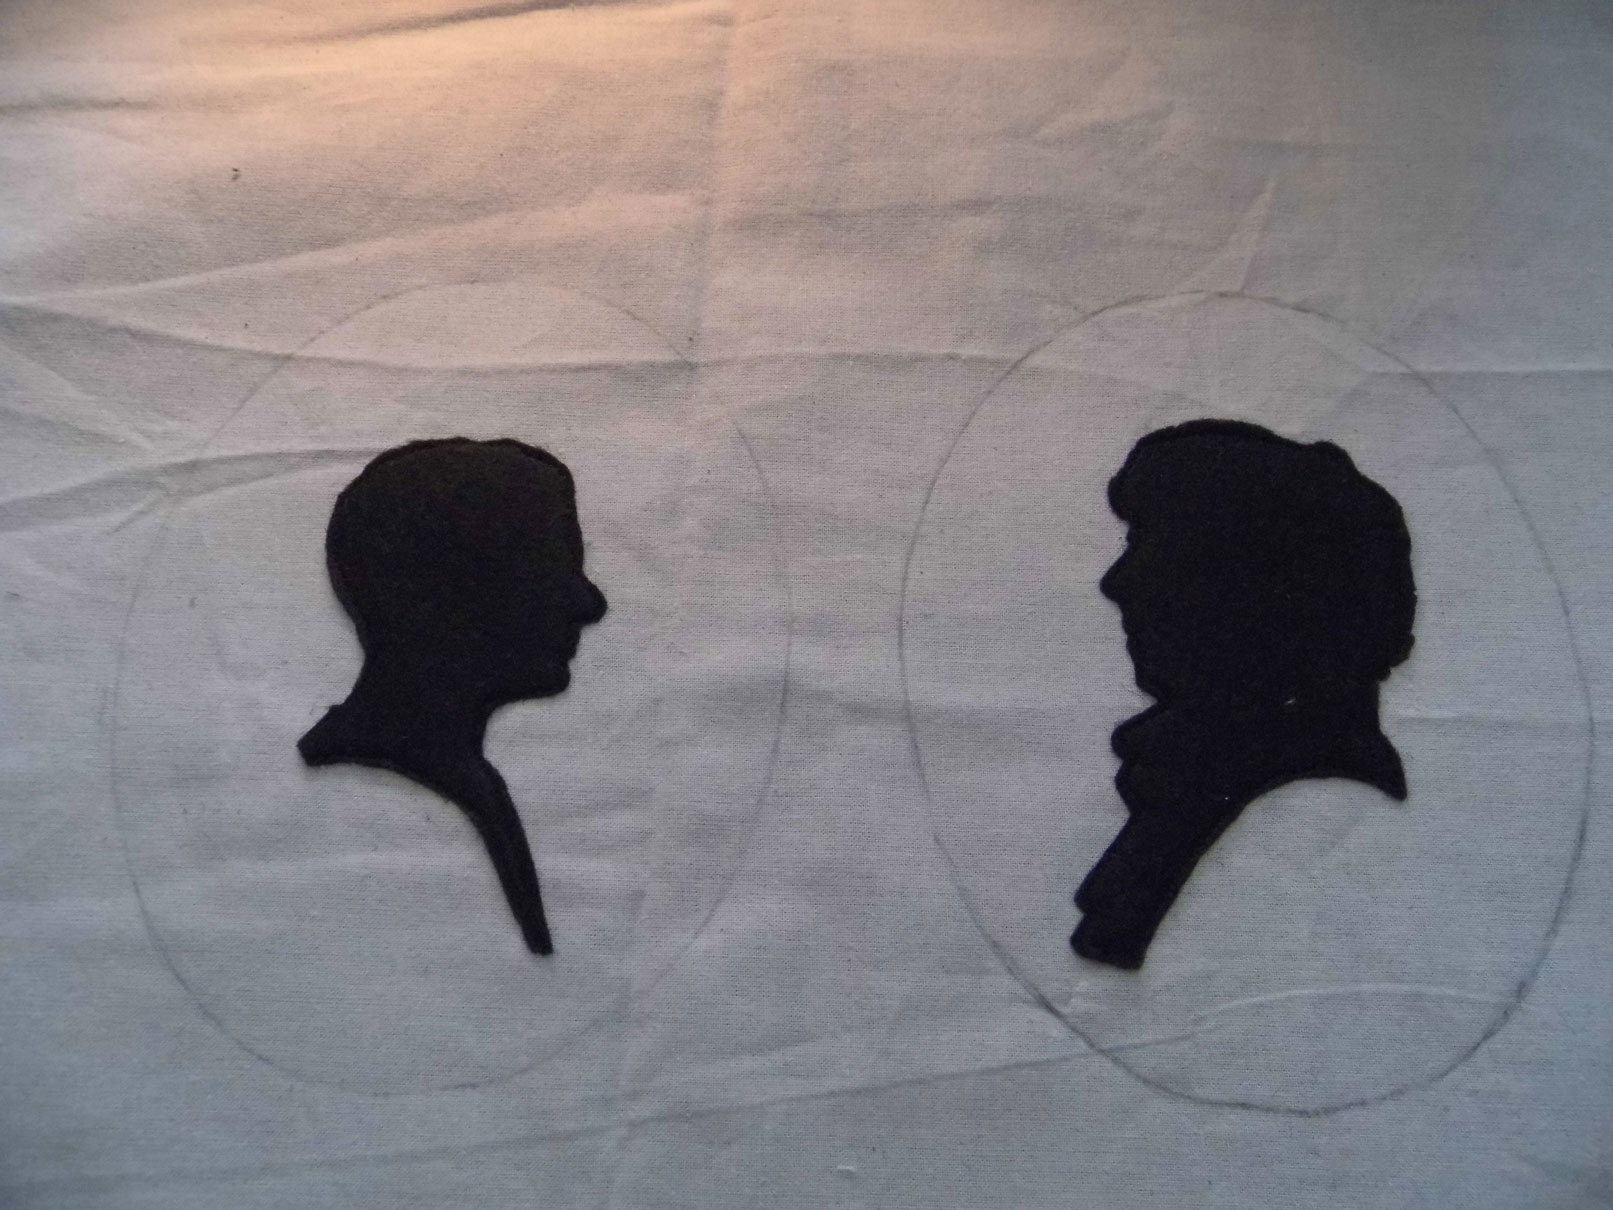
I decided to sew ovals around each of my silhouettes – they look a bit bare without anything. It seems fitting since they’re Victorian-style silhouettes. I traced an oval shape onto some greaseproof paper and then put it pencil side down over each silhouette, then drew around the oval with pencil, marking the fabric. You could probably do this with a tracing wheel and something more fabric appropriate than a normal pencil, but since I knew I’d be sewing over these lines, I just used a normal drawing pencil.
Then you just need to follow your line with your chosen stitch. I put the line so it goes down the centre of my standard foot.

I overlap the stitches a little bit at the bottom – it looks a tiny bit messy, but I’m willing to sacrifice that for the stitches not unraveling!

Now we can move onto actually constructing the bag! I used all french seams as I like the inside of the bag to look all neat, and to give the seams a bit of extra strength, as they’re all sewn twice.
Pin the wrong sides together of one side (42cm x 42cm) and the bottom piece (42cm x 10cm).

Sew them together with a 1cm seam allowance.

Pin the wrong side of the second side (42cm x 42cm) to the other long edge of the wrong side of the bottom piece (42cm x 10cm).

Sew these together also with a 1cm seam allowance. To make the french seams, trim the seam allowances by about half.

Iron the seams open.

Now turn the sides so that they’re right sides together with the bottom and pin each seam, enclosing the seam and seam allowance you’ve just sewn/ trimmed.

Sew these seams with a 0.5cm seam allowance.

Your bag will now look like this on the wrong side:

Next, pin your sides together, wrong sides together. Include the bottom piece in this seam, folding it in half.

To reduce bulk, make one french seam go up and one down when you pin the bottom seams together.

Trim the seam allowances then sew the seams again, right sides together, as with the bottom seams, to make the side seams french seams.
To make the bottom of the bag square at the side seams, instead of flat as they are now, with the bag inside out open up the bottom piece and spread the side pieces at the side seam. Pin across the bottom triangle, where the 2 lines of stitching are from the bottom seams.


To make the straps, fold them in half lengthways and pin.

Sew with a 1cm seam allowance.

Turn them the right side out.

Iron the straps flat, with the seam in the middle of one edge (so it’s underneath when you sew them onto the bag).

With the bag inside out, turn the top down 1.5cm twice, to make a hem of 3cm in total. Place the straps under the hem, 5cm in from the edge, facing down (towards the bottom of the bag). Place the straps hem down, like below. Each strap is sewn onto one side of the bag – they don’t go across the top of the back, they go along each side. Sew the hem, passing through each of the strap ends.

Fold the straps up by 4cm, towards the top of the bag. The 4cm is the same as the width of the strap, so the overlap is a square.
 Sew each strap end, sewing first in a square, then in a cross, twice – this is to make sure the straps are really securely sewn on.

Now all that’s left to do is stand back and admire your handiwork!

If you use this tutorial, let me know – I’d love to see your makes! Also, let me know if I’ve missed anything off or anything is unclear. And do let me know if you use this tutorial to make a tote bag, I’d love to see it!

Very well done- good pictures. Blue nails a nice touch.
LikeLike
Pingback: Homemade Christmas Presents | Thrift Make Sew
Pingback: Make It Yourself – Thrift Make Sew
Pingback: Make It: 15 Homemade Christmas Present Ideas
Pingback: My first commission (sort of!)
Pingback: Harry Potter Tote Bag