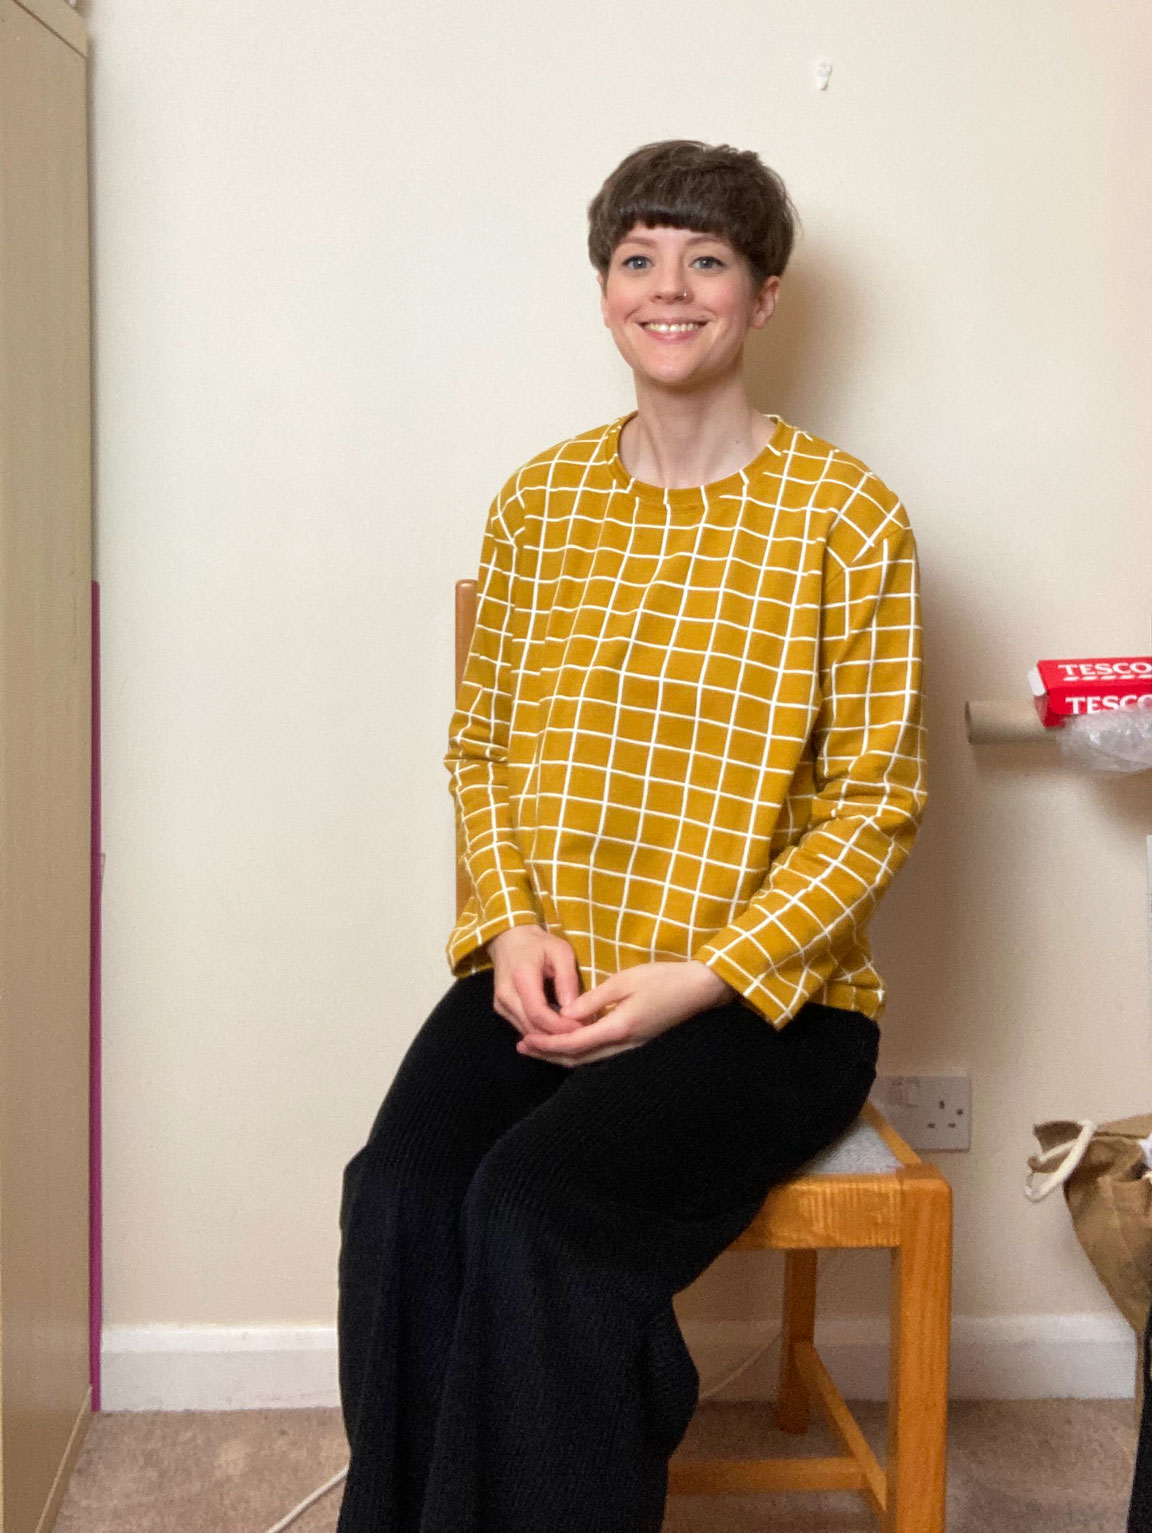
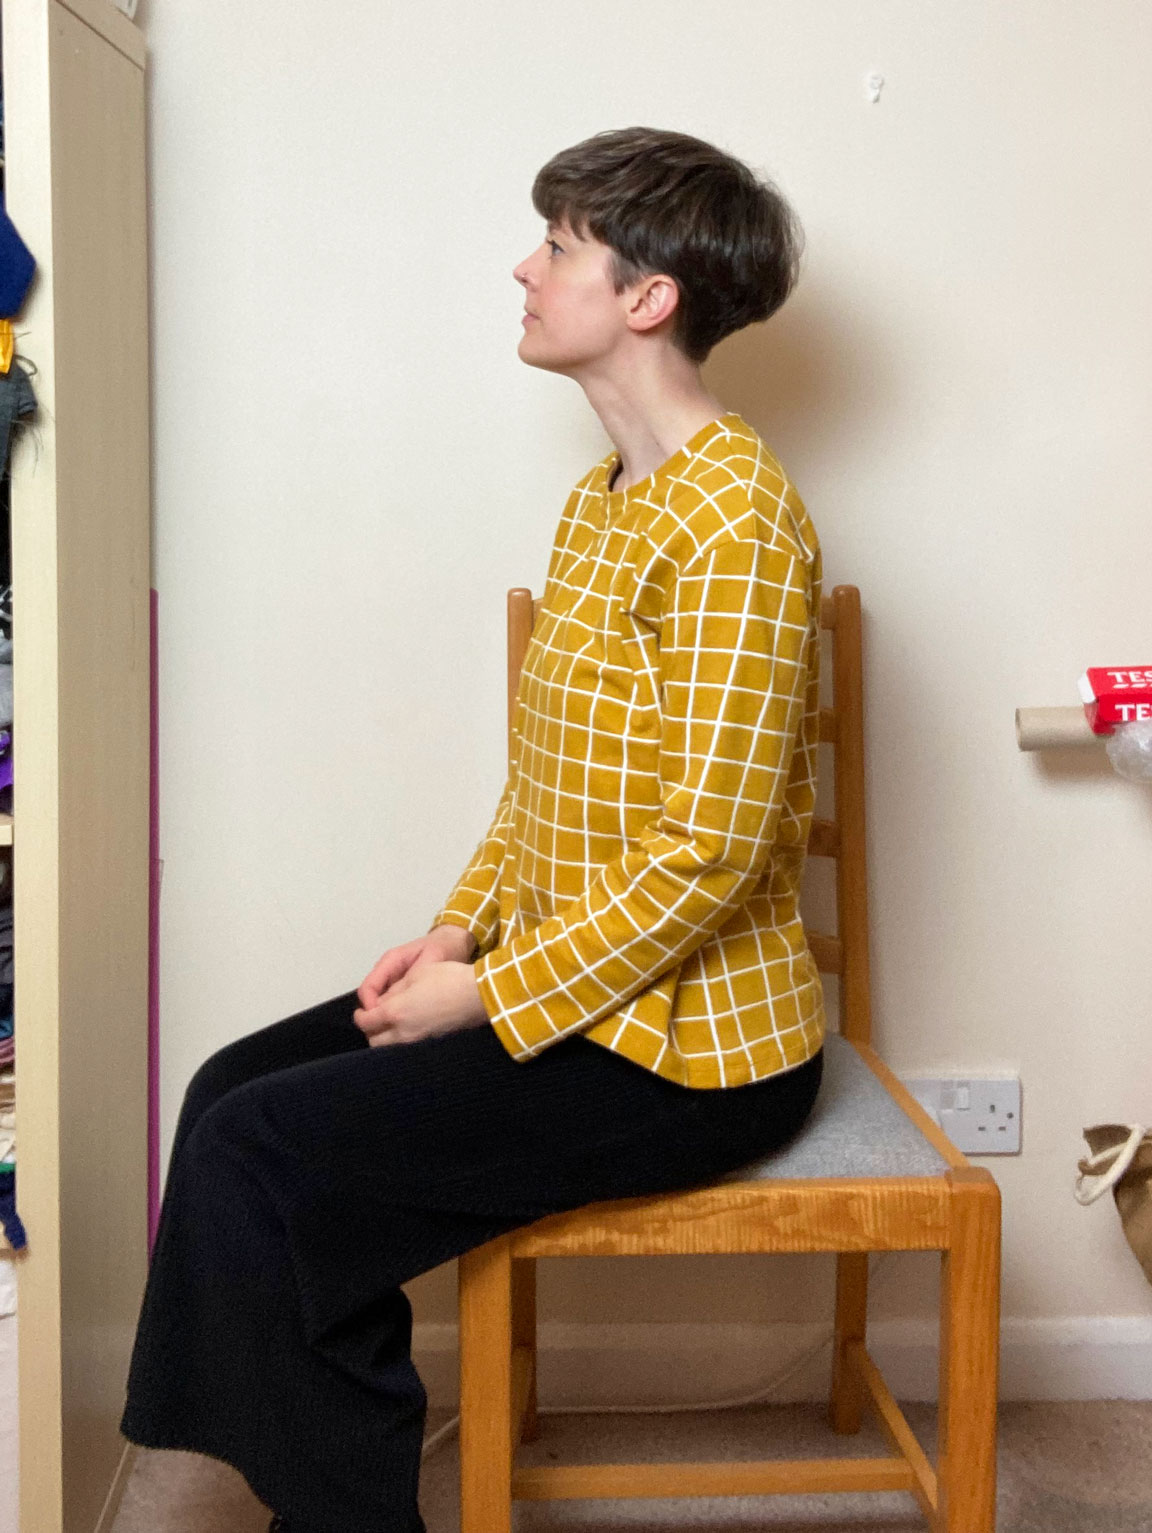
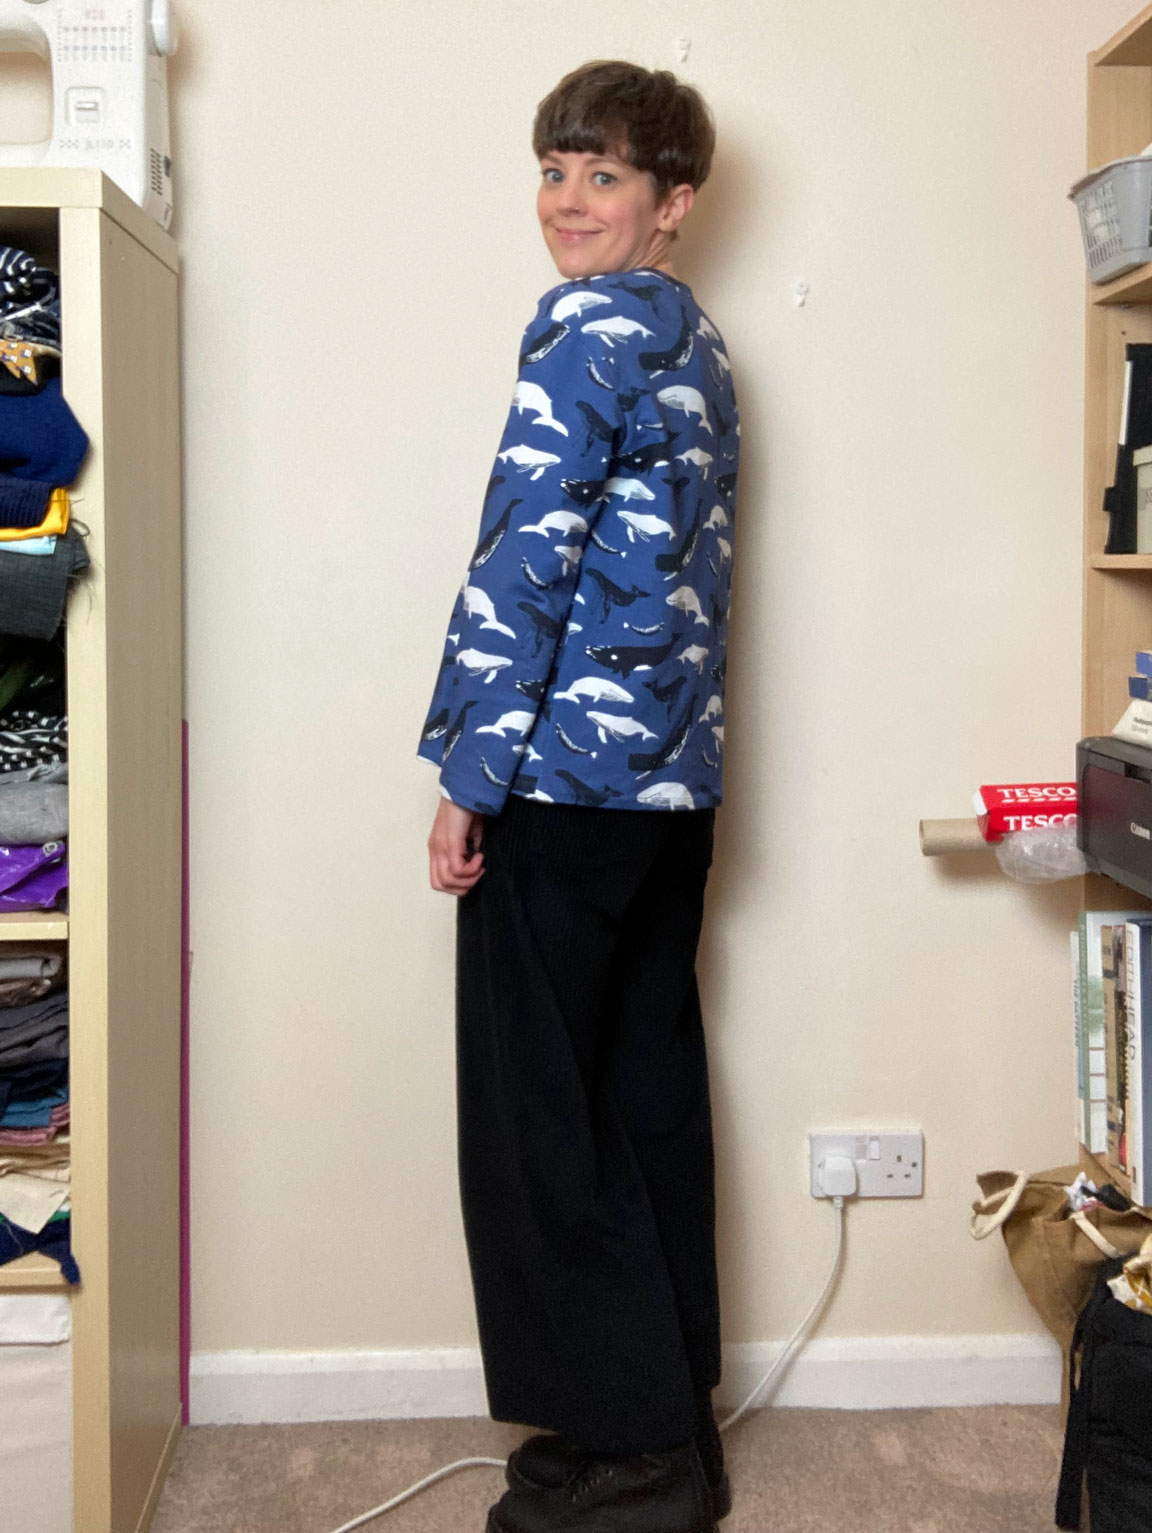
Tag Archives: Homemade

My first foray into sewing a swimsuit

I actually made this Sandpiper swimsuit last year but have (obviously) only just got around to photographing it for the blog. I bought 2 lots of fabric at the same time, so expect at least one more Sandpiper in the near future.

This is the Helen’s Closet Sandpiper Swimsuit – it’s no secret I’m a bit of a Helen’s Closet fangirl! I thought about using the Axis Tank and the pants pattern I used to make all my underwear (can’t remember which one it was now!) but since there are some specific techniques with sewing a swimming costume – like the elastic and lining – and because Helen’s instructions are always so great and comprehensive, I thought it was worth plumping for a proper pattern.

I made the size 6 and had to make loads of changes! I realised when I cut out the second version recently, that I cut out the wrong size. I looked at the high bust measurement and thought it was the full bust measurement. I took it in about 4cm off the shoulders, 2.5cm at the armpit, out to 6cm from the side seams at the waist, 3cm off the crotch seam and 2cm off the pants side seams! I did think this was a lot of adjustments – which obviously it is when you’re an idiot and cut out the wrong size! Luckily this was kind of a wearable toile!

I bought this fabric (and the other one) from an online shop I’d not used before – Fabriques. The fabric is fine but doesn’t have super good stretch – I’ve since bought some other swim fabrics from Sew Me Sunshine and Hey Sew Georgie and they feel much nice and have more stretch. It does the job but it’s pretty difficult to get off once it’s wet!

Attaching the swim elastic was a bit of a learning curve! It isn’t very even if you look closely. but when it’s on the body you can’t really tell. It looks quite scrunched up when it’s not on the body – which I assume is normal?

I’m very inspired to sew my second (and third and fourth ehem) versions after the Sewing Bee this week. I love seeing everyone’s different interpretations of the briefs on the made to measure challenges. But I would probably have lost because I don’t generally like lots of flouncey or intricate details in most garments – but especially in a swimming costume! Have you been inspired to sew a swimming costume after watching the bee? (I’m not sure I could sew one to a strict time crunch, though!)

Traveller Coat for Winter?

Now that the weather is finally getting warmer, I thought what a good time to share my new Winter coat I made back in February!

I knew I wanted to make a new coat this year as my beloved Honetone coat was really starting to wear out. It was made from pretty cheap fabric from one of the Sew Brum meet ups and there were a couple of things that I didn’t love about it in the end (apart from literal holes in the fabric), like a lack of a full collar – it had lapels but no collar. And the lapels never sat quite right but I’ve learnt more about how to make this happen that I knew then so I was hopeful I could do a good job this time, and get a nice finish!

Also using 100% wool fabric helps with pressing – synthetics do not press as nicely in my experience. The fabric – the wool and the lining – were from Fabric Godmother. I have never been disappointed with the quality of their fabric and since this was a sizeable investment in time, as well as money, I didn’t want to cut any corners.

I used the Bella Loves Patterns Traveller Coat pattern as it had the masculine details and vibe I was looking for in my new coat. It was soooo many pages so I went the extra mile and got it printed at Netprinter (which I think I saw was now closing?!). There are 2 heights for the pattern and since I’m 5’3″ I made the one drafted for exactly my height! I made the size 8 with no fitting changes – since it has a dropped shoulder, I thought that would remove the main place it might look wrong if it didn’t fit properly. Obviously this was a risk since the fabric was expensive and I didn’t want to mess it up.

The pattern calls for a lot of interfacing and I just went for the iron-on style for ease of use and ease of getting hold of it. To help the lapels lay back nicely, I ironed on the interfacing with the lapels in the position they sit in when worn – it was a bit of a head-scratcher to figure out which way that was! I saw this in a Bernadette Banner video from an expert tailor – they talked about holding the fabric in the way you want it to lay when you do pad stitching to attach the interfacing.

Sewing the whole coat from start to finish did take a good while – which was what I wanted to do. This isn’t a quick sew! I started it in January (when I finally got the guts to cut into the fabric) and finished it in February, during a week I had off from work to use up my annual leave. It was nice to spend a good chunk of time working through all the steps.

The pattern calls for quite a bit of top-stitching which helped the fabric to sit flat, since it was quite bulky and spongy in places without it.

I decided to go for a bright yellow contrast lining – because why not! I actually quite enjoy the flash of yellow in the vent as I walk. Speaking of the vent, that was the part of the pattern that was the trickiest for me to understand – I think I was overthinking it. When I actually started to do the steps, it finally started to make sense!

I’m not going to lie, I’m really proud of my coat. I’m glad I invested in good quality fabric and took the time to do everything carefully and I hope it will last me a good few years. I have a bit of each of the fabrics left so hopefully I can do some repairs in the future if I need to. I also feel really cool wearing it. Although I love the warm weather we’re finally getting, I’m also a bit sad that I won’t be able to wear it for a while until it gets cold.

Here are a couple of close-ups of the details on the shoulders and the belt. I really love the epaulettes(?) on the shoulders – I like the little loops they sit through, the buttons, everything!

What’s the most involved garment you’ve ever made? Sometimes it’s nice to take extra time to make something really well finished I think. Obviously quick makes are fun, but slow ones are fun in a different way.

Dawn Jean Shorts

Last Summer I went on holiday with my university friends (to attend the wedding I made this outfit for) and I realised I didn’t own any shorts! This seemed like a terrible oversight – and was very gladly remedied since the week we were away – in the UK – was boiling hot!

I bought this relatively light-weight denim at the same time as I bought the blush pink cotton/linen I made the suit from. It made them nice to wear when it was so hot as the denim isn’t too thick!

I made my standard size 4, which is the size I’ve made all my dawns in (and I’ve made 2 more pairs I haven’t shared yet!). I did my usual adjustment of taking and extra 2cm off the back seam, tapering to the standard seam allowance at about 10cm down. I maybe need a little more room in the bum, though, as these are a little hungry! I have one other pair that does this and they are also from a light weight denim so maybe the pattern needs a certain weight of denim to hold it’s structure?

What’s slightly funny to me is that they look kind of long in these photos (though they don’t feel long on!) and they are sooo short when I’m sitting down! Something to bear in mind if you spend a lot of time seated – you might want to add a bit more length!

I did do gold jeans top-stitching on these as I wanted the jeans feel for them. I also did the zip fly variation – you can follow Megan Nielsen’s Ash Jeans sewalong for the instructions for this. The Dawns are drafted with a button fly and while I like that on my first ever pair of dawns, I don’t love it on the only other pair I did a button fly on – I’m just more of a zip fly person I suppose!

I may make another pair of dawn shorts in the future – maybe out of a cotton drill or something a bit more summery than denim – though of course, as I mentioned, this is a light weight denim. I do also have some pairs of linen Arden shorts planned so I’ll see how many pairs of shorts I really need in my wardrobe before I commit to make more dawn shorts! I slightly don’t feel like I need any other trouser patterns in my stash than Dawn and Arden! They’re so much my go to’s!

I think I need to plan another summer holiday so I’ll get some more wear out of these! Any warm/hot places you love going? I’m open to suggestions!

Business in the Front, Party in the Back (literally)

So a while ago I saw a photo of a Thai actor in the below outfit and immediately thought about recreating it. Last year I had 2 weddings to attend and for one I was going to wear my Mersis Dress which I made the previous Summer. But for the other one, I figured why not make a new outfit!?

You can see that the above outfit is more of a jumpsuit than separates – the front is one piece, but with suit vibes at the top. I decided I wanted to make separates – much more practical for ahem going to the bathroom (you don’t end up basically naked!).

I wanted the trousers to be what I consider stereotypical suit trousers, so with some pleats, welt pockets on the back and with front pockets. I came across Butterick B6878 and while the illustrations and photos on the pattern don’t make it look amazing, I did some googling and decided to go for it.

There are 2 darts on the back and 2 pleats on the front. I made the size 10 and actually can’t remember if I made any changes and didn’t write any notes – normally I write fitting notes as I go so if I make the pattern again, I’ll know what I did last time. There are shorts, tapered leg trousers and wide legged trousers. I went for the wide legged version.

I ended up making 4 welt pockets in total as the jacket also had 2 – though double welts rather than single welts. For those keeping count, I had a total of 6 pockets in my outfit! Winning!

Obviously sometimes you need sustenance while you’re sewing. IMHO you can’t beat a good cup of tea!

The jacket pattern I used was the Ready to Sew Joe Blazer. I used this pattern before for my pink smoking type jacket and since I’d already hacked it to kind of be double breasted, I thought it would be a good place to start. Oh, a word on the fabric. It was this lovely blush pink linen/cotton blend I bought from a fabric shop in Abingdon called Mason’s. They have 3 craft shops in total and are kind of legendary locally. I wasn’t sure what to expect but I was pleasantly surprised by their range of fabric and they have every notion you could think of.

Before when I hacked the pattern I pivoted the fronts to make them wider but this made them on an angle, so this time I toiled it a couple of times to figure out how best to do it and went with slashing and spreading (again can’t remember by how much sadly). You can see above I pinned a little wedge out of the front to make it even more straight, then sewed the facing to the front along that line from the inside.

Of course there was also a lot of hacking to the back. I merged the back side and centre back pieces into one and then cut a semi-circle out of the back, leaving a bit extra for seam allowance. It was definitely a head-scratcher to figure out the construction to make it all look neat, but I figured it out in the end.

↑ business in the front

↓ party in the back!

The loop at the top which holds the ‘strings’ was 20cm x 11cm and sewn in half with a 1.5cm seam allowance. The loops were 74cm, 128cm and 146cm long, though I did have to slightly adjust some of them so they weren’t too slack or too tight.

I did really love wearing this outfit to my friends’ wedding back in August but there was quite the heat wave that week so maybe it wasn’t the most sensible choice! I was more than a little warm. I did take a t-shirt to change into in case I couldn’t cope with wearing the jacket and once I started dancing to the live band, I did admit defeat sadly.

Not to blow my own trumpet but I am really quite pleased with how the back in particular turned out, but also managing to make it actually look like a double breasted suit on the front – though the bottom set of buttons looks a little low proportionally, looking at these photos. Eh, the sewist’s curse, to always look for flaws that literally no-one else would ever notice!

While I may not get the chance to wear the whole outfit very often, I am definitely planning to wear the trousers with some other tops. And actually as part of Wear It On Wednesday I have already worn them once – I think when the weather gets a bit warmer they’ll get more into regular rotation!

To preserve my modesty I did add a popper to the front to make sure the lapels didn’t gape and show everything! As I’m sure you can appreciate I couldn’t wear anything underneath the jacket!

I did ask one of my friends to take a few photos of my outfit on the day. You can almost feel how hot it was in the photos – so sunny! I love hot weather but this outfit was not the best choice and I didn’t take any alternatives. Clever me!

I really enjoyed trying to recreate an outfit from photos I found online. I’ve done it a couple of times before (both outfits I wore to the dressmaker’s ball were red carpet copies [1 and 2]) but I definitely want to do some more of it. I just need some occasions to wear some more formal outfits…

An (Almost) Zero-waste Summer Dress (in November)

So I’ve got a little backlog of posts to share, hence me sharing a Summer dress in November…

I made this dress quite late in the Summer so I didn’t actually get a chance to wear it out and about so I’m counting down until next Summer so it can get a proper outing – because I love it! I’ve kind of stopped wearing dresses for the last couple of years, but especially when it’s really hot, they’re really nice and comfortable so I need to remind myself of this next year!

The pattern/instructions I used were the Daisy DIY Gathered Rectangle Dress. You use your own measurements to make the dress to fit you. It’s similar to the Maya Dress that I made for my sister to wear to a wedding. I was also slightly restricted with the amount of fabric I had.

Can we just talk about this fabric for a second?! I had it in my stash for quite a while, waiting for the perfect project, and I’m so glad I waited as I think this was perfect to show off the pattern. I bought it in a destash from Sarah of Like Sew Amazing because I was drawn to the retro print and the amazing colours! I had to do some brain work to figure out how best to centre the pattern because the fabric was relatively narrow and the pattern was totally centred down the middle of the whole length.

So in case you’re interested, my pattern pieces were the following dimensions:
Top front and back 42cm x 20cm
Skirt: 75cm x 90cm (two)
Straps: 95cm x 5cm (two)
You also cut lining pieces of the front and back, to sandwich the straps between, which in my case I cut in 2 pieces, from the outside of the main pieces, so that the outer front and back were centred on the fabric, if that makes sense? It didn’t matter for the lining pieces to have a seam down the middle as…it’s the lining so no-one’s going to see it!

I would definitely recommend this pattern/ these instructions as once you’ve got your brain around the size of the pieces you need, it’s really quick to sew up as there are no fastenings, which is always a win in my book! And there isn’t anywhere as much gathering as on the Maya dress, double win!

This dress wasn’t quite zero-waste, but I’ve kept the offcuts and will hopefully be able to use them for pockets or something on a future project. Have you made any zero-waste (or nearly zero-waste) clothes? I really enjoyed both of the Daisy DIY tutorials I followed, as you can more easily tailor them to your own wishes, rather than having to do formal adjustments on a full paper pattern.