I’ve finally sewn up some of the lace I wrote about in my post about lace. Hurrah! (I was meant to take pictures at the wedding, but totally forgot, sorry! I blame the prosecco….)
 I made this dress for a wedding I went to last weekend – which was awesome, by the way. I haven’t been to loads of weddings – I’m not someone who has multiple ones every Summer for 5 years in a row (maybe I don’t have many friends!?) – so it was fun to have one to dress up for. There wasn’t an official dress code – which is awesome – but I still wanted the excuse to dress up and make myself something fancy.
You may remember in my lace post I mentioned making a dress for the wedding and I found some photos as inspiration. There was one that stayed with me and became my main inspiration for this dress. I liked the simple top, pleated skirt and sort-of-matching-but-not-really underlining and lace.
 I was planning to also copy the high-low hem, but after a google of what they look like on actual people and after scratching my head about how to do it with the scallop edge of the lace being all around the bottom, I decided to forgo it.
I decided to underline the dress instead of lining it so all the seams would be hidden on the inside and I wouldn’t have to fiddle around with teeny french seams or double stitching or anything like that – I would like to have a go at this, though, and since I have plenty of lace left I can easily make something else that’s lined instead of underlined. I used the left-over fabric from my BHL Georgia dress (this is a bit of a BHL outfit btw) as the underlining. There was exactly enough left – and I had to cut the back bodice sideways to the grain. The 2 skirt pieces are on the selvedge (which cunningly meant I didn’t have to hem them!) and the front bodice is on a scrap folded in towards the middle – I had to cut out the skirt pieces before I could cut it out!

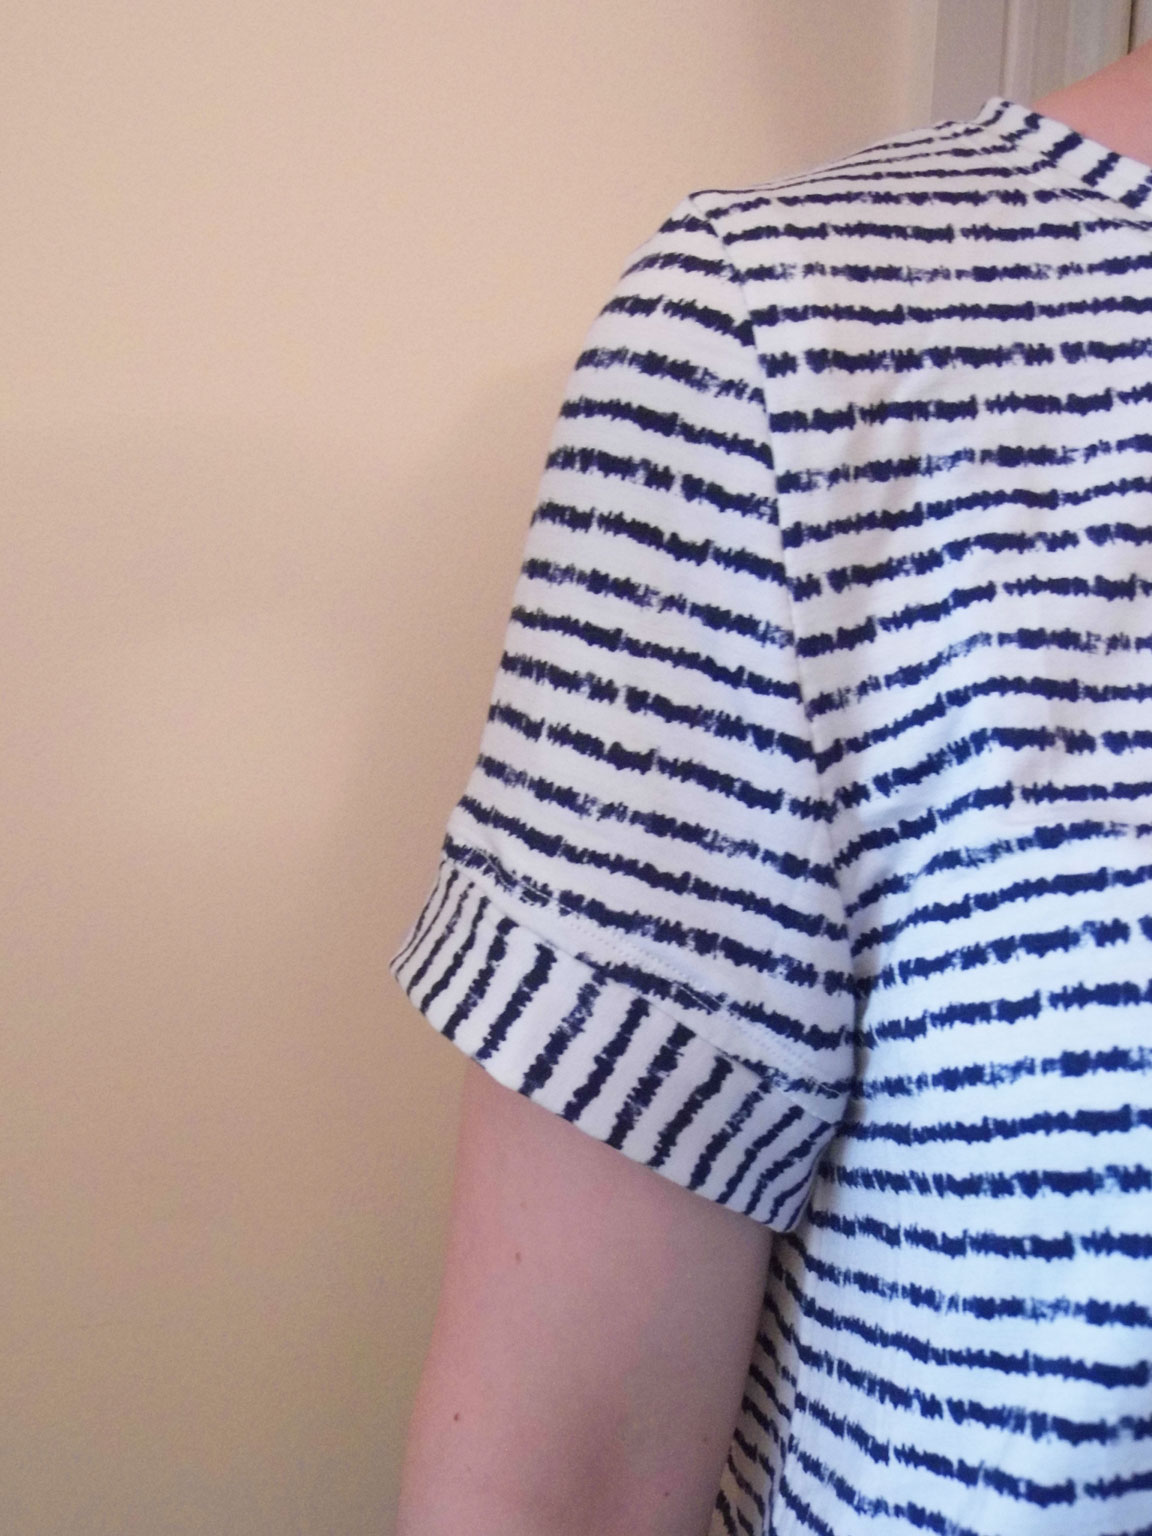
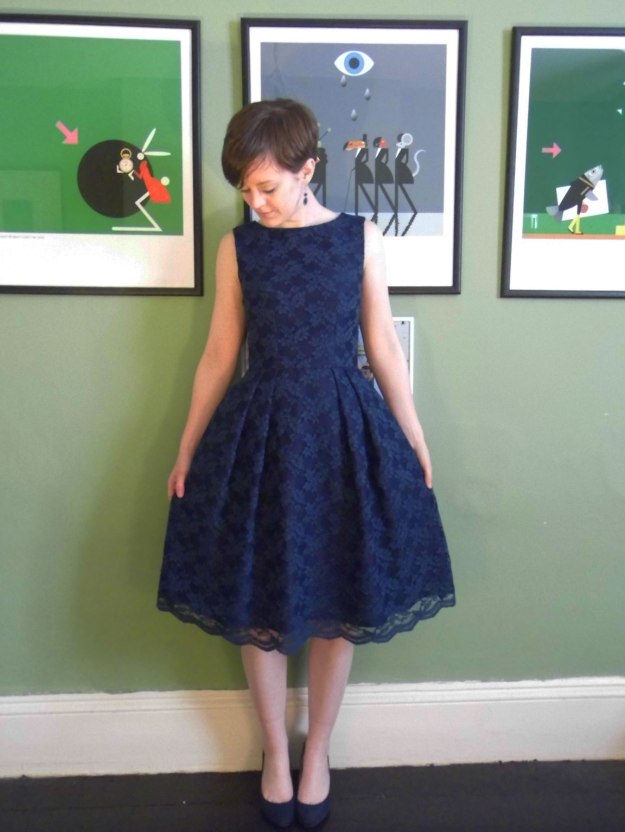
I agonised for ages about what colour to put underneath my lace. You may remember it looked dull when put over bright colours. I had pretty much decided on cream but then changed my mind and went with navy and I’m soooo glad I did! I cut out the pieces in lace and the cotton sateen (as I think my Georgia was made from) and zig-zagged them together with bright orange thread – so it would be easy to unpick. This was the theory anyway – a lot of the time it got caught in my seams and was a pain to get out, especially in the pleats on the skirt! Definitely use either a tiny or massive seam allowance if you do this!
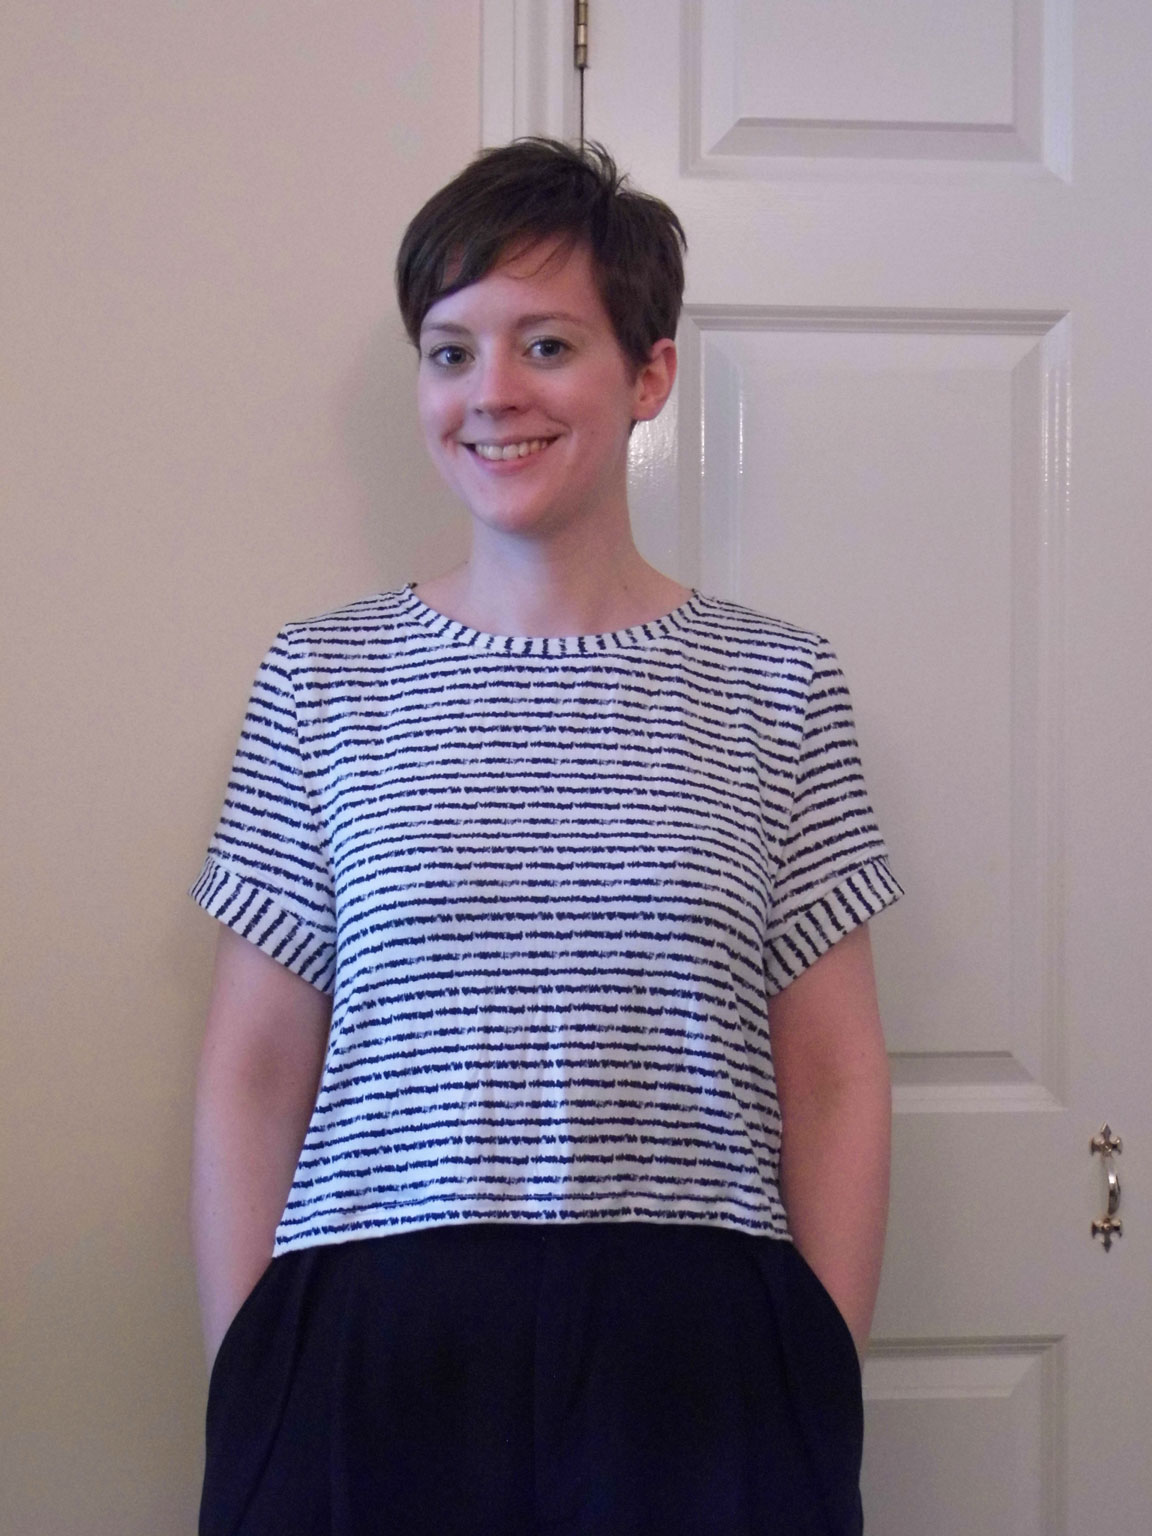
 The bodice is the Emery bodice as I’ve already made it twice (1, 2) and done all the fitting work before and I’m inherently lazy when it comes to fitting! I sewed the side seams with a 1cm instead of 1.5cm seam allowance as I’d done last time when the bodice ended up a bit tight!
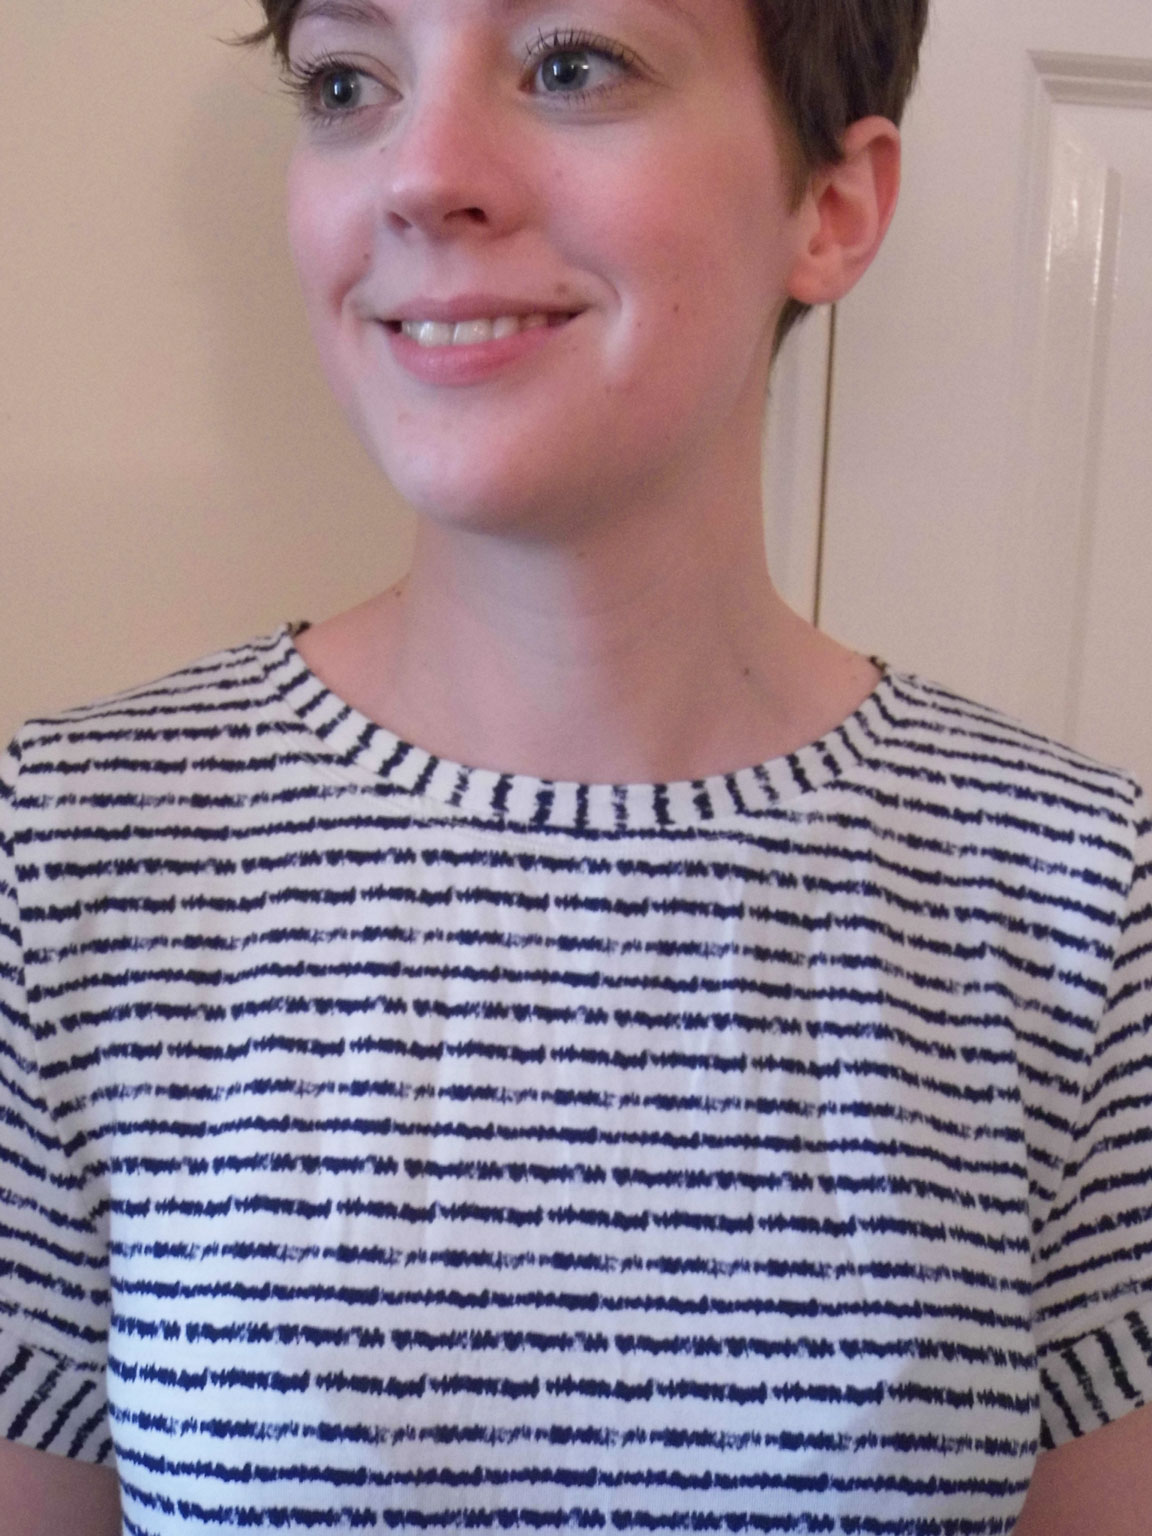
I didn’t really think about the pattern placement when I was cutting out the lace – apart from the scallops on the bottom. I probably should have centred the lace pattern on the bodice, I wouldn’t do well on the Great British Sewing Bee! I did manage to remember to sew in one of my labels, though.
 As well as the bodice, I used the pockets from the Emery. I LOVE pockets!!! It was really useful on the day of the wedding too, as they were big enough to hold my phone so I was always ready to take photos.

The skirt of this dress was the real challenge. I used the BHL Elisalex skirt as a basis – in terms of length and width at the top of the skirt. I probably could have started from scratch given how much I changed, but it felt too scary! Since the Elisalex already has pleats in, I thought it would be a good starting point. It has box pleats, though, and I wanted knife pleats (I think they’re called knife pleats!). Each box pleat was 8cm on each side, so I could change it easily to be 2 knife pleats also of 8cm each. I initially wanted 3 pleats, though, but couldn’t fit them in nicely – the 3rd one ended up on my hip, which wasn’t the most flattering. I had already added another 8cm into the width of the skirt pieces, though, so I made 2 12cm pleats instead. I’m talking about in each ‘quarter’ so 2 pleats on each side of the front and 2 on each side of the back. I’m pretty pleased with how they turned out! They maybe could have been a little closer to the centre, but they seemed pretty close as it was on the pattern.
 The other bit of measuring was to make sure the width of the top of the skirt minus the pleats matched the bottom of the bodice pieces – I included the seam allowances in my measurements as it was the same on the bodice and skirt. The Emery and Elisalex were pretty close and I only had to alter it by a cm or two. It was particularly important for me to make sure these matched as I was adding the inseam pockets from the Emery, so I couldn’t alter the side seams of the skirt – and I couldn’t alter them on the bodice either, or I wouldn’t have got it on/ it wouldn’t have held together.
 You may also have noticed the fact that the skirt is not tulip shaped as in the Elisalex, but more a-line. I made the bottom hem of the skirt 10cm wider than the top of the skirt (which was 24cm wider than the original pattern) and drew a straight line for the side seams, for the back and front pieces. Once I’d taken out the pleats, the difference between the top and bottom became more pronounced. I’m really pleased with how it turned out – I didn’t want it to look like a circle skirt but I wanted it to balance out my shoulders.
 Although I said I didn’t think about the pattern placement – particularly obviously on the bodice! – the one place I did think about it was on the skirt side seams. I made sure the scallops looked uninterrupted so the seam wouldn’t be quite so obvious on the hem. Also, as you can see, the underlining skirt was 1.5 cm shorter than the lace over skirt, so the scallop looked its best. One of the things I loved about making this dress was than I didn’t have to do any hems! Does anyone else hate doing hems?
 I took a further 2.5cm off the length, on top of the 2ocm I’d removed previously! I wanted it to sit just on my knees – and because of the scallops I knew it would be a massive pain to take it up, so I measured my ideal length and hoped for the best! It could maybe have been a cm or two shorter, but I think it looks fine.

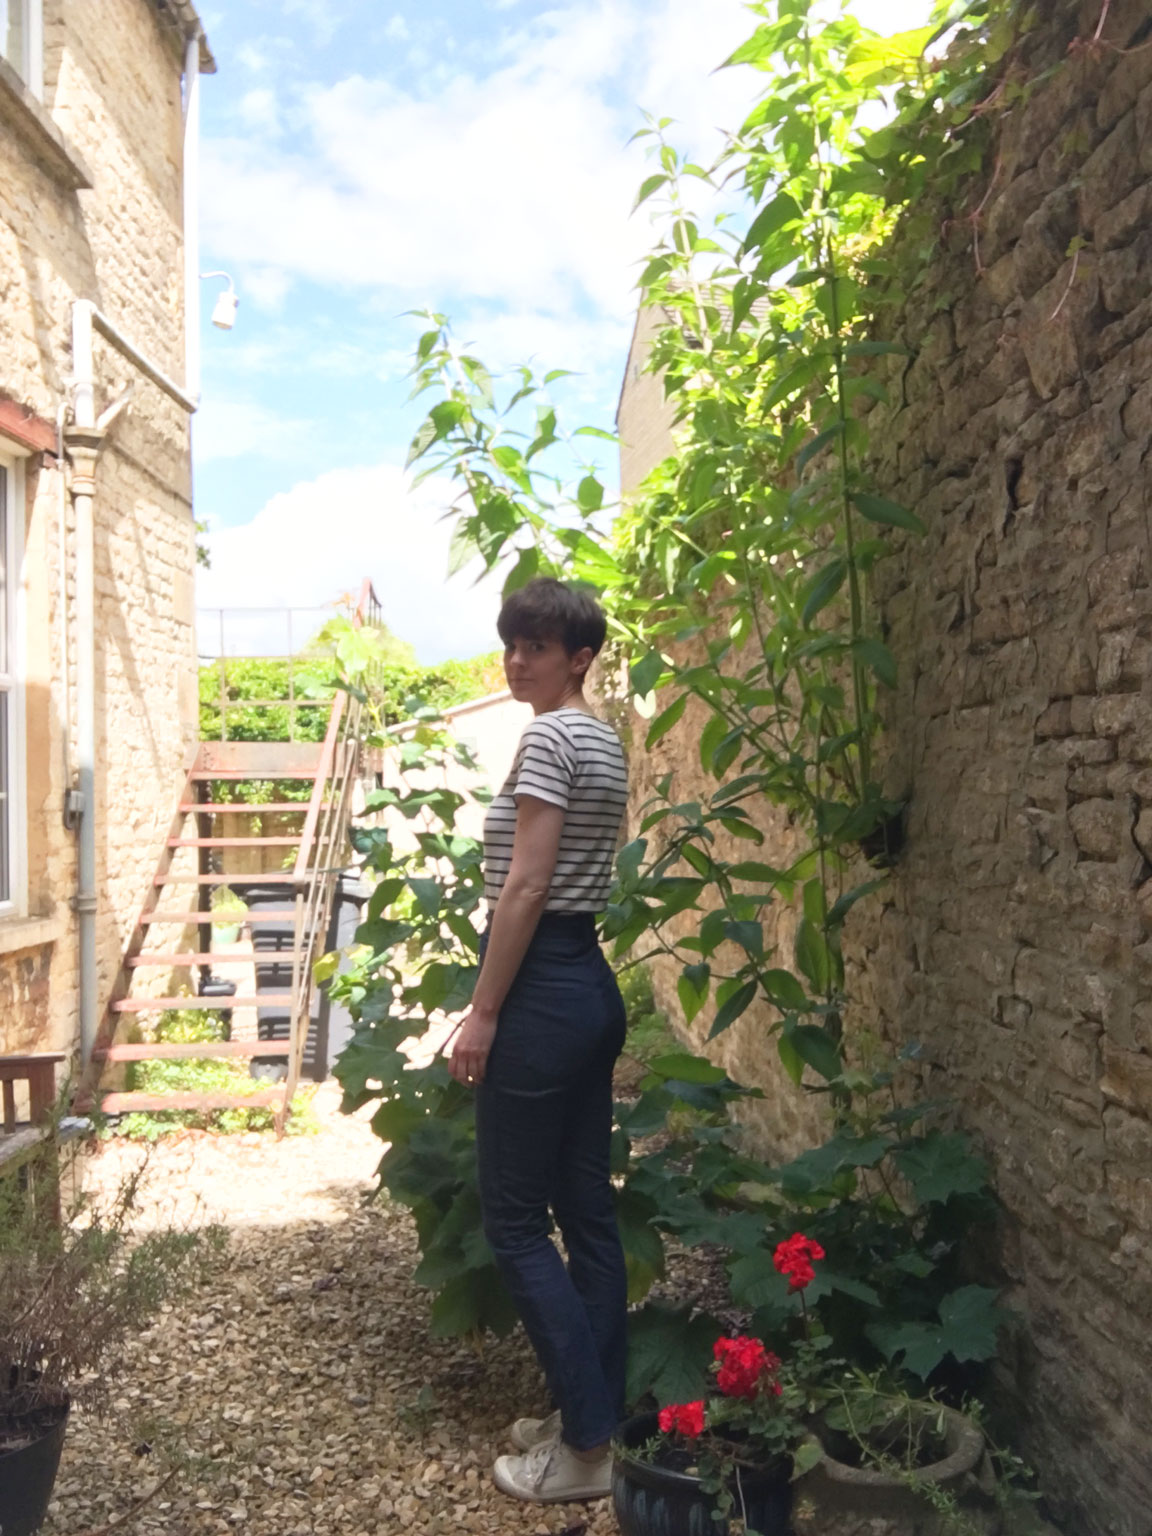
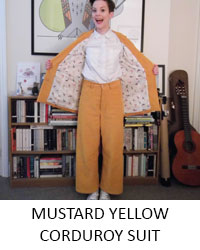
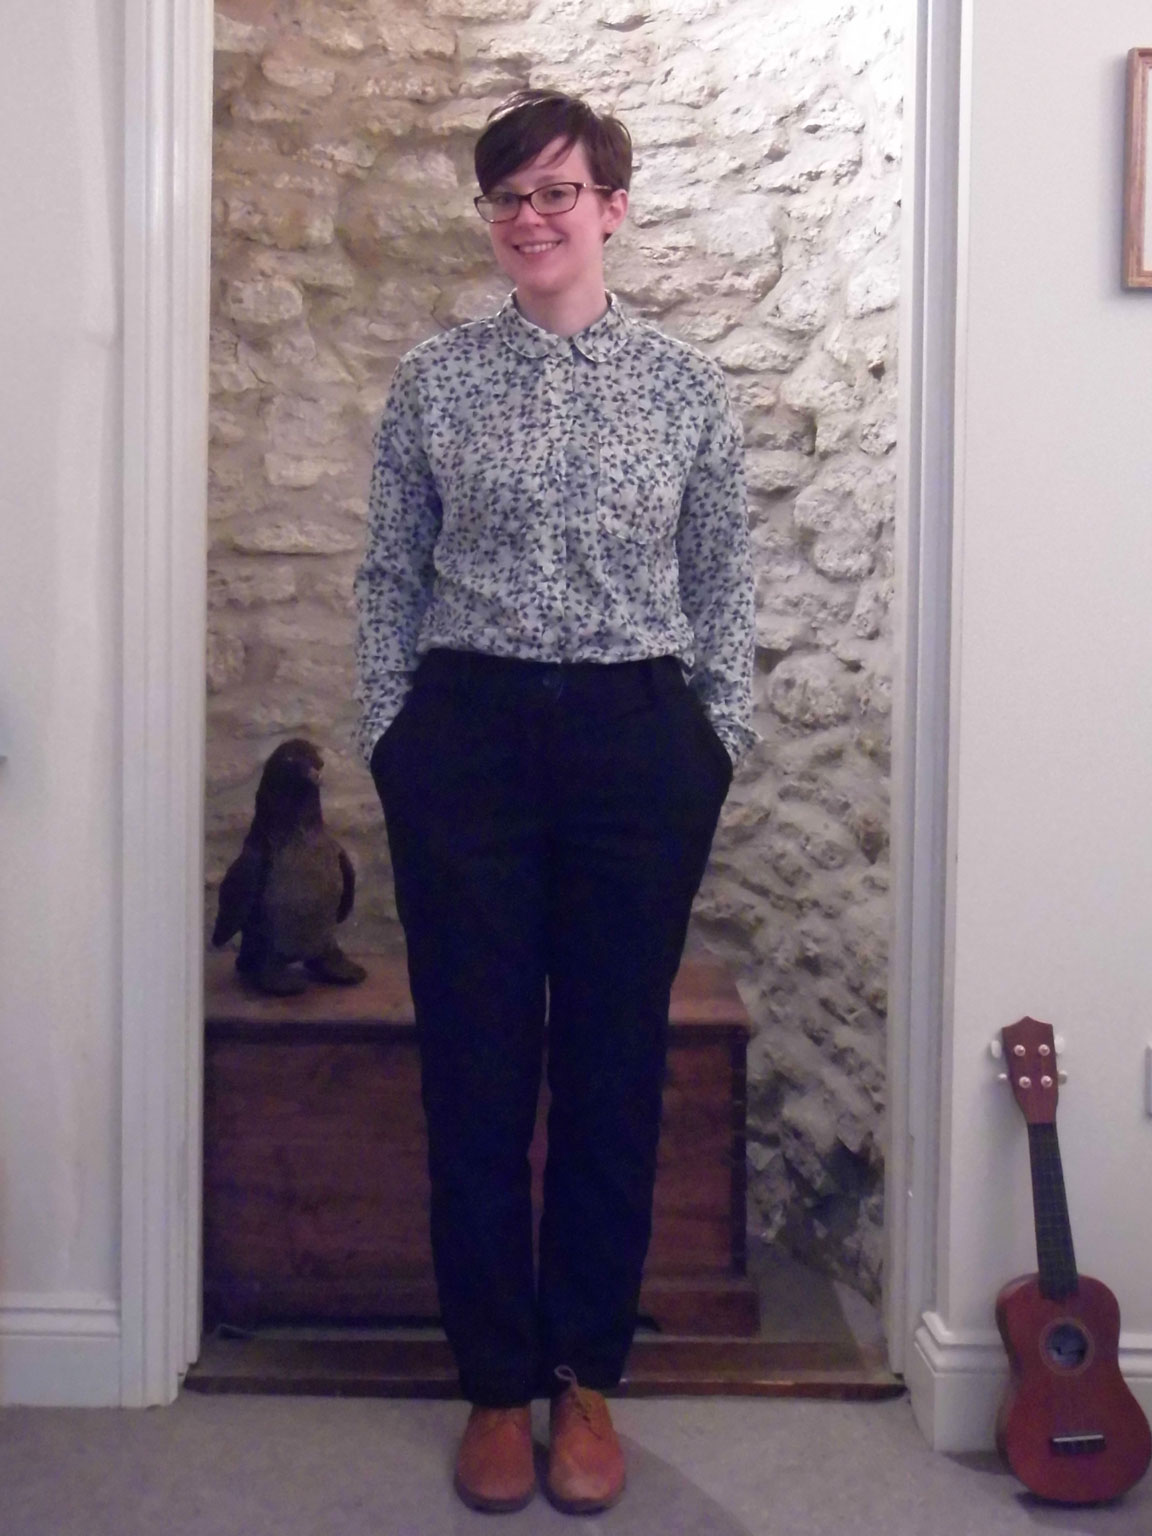
When I had the idea for this dress I didn’t really think about the weather. Here in the UK we’ve had a rather cold May and it was really really cold the weeks before the wedding, so I decided to make myself a jacket. Since I already had the BHL Victoria and had made it twice (1, 2), I thought it would be a good option and – hopefully – look nice with the dress. I decided to make the cropped version as I measured the hem would hit the waist of the dress.
 Mustard yellow and navy is one of my fav colour combos, so I ordered 2m of mustard yellow ponte roma from ebay and hoped there would be enough fabric to self-line it. Spoiler alert! There was.
 I had originally wanted to make the jacket in coral – and have matching coral shoes – but I really struggled to find any coral fabric. If you know of anywhere that sells coral, do let me know! The other problem is no-one really agrees on what colour coral is! Sometimes it’s pretty much pink and sometimes it’s orange. I couldn’t find any coral shoes either, so I decided to go for mustard. Couldn’t find any mustard shoes either, though – hence the boring navy, though I’ll probably get more wear from navy court shoes. One other thing I learned – love wearing yellow/ mustard. It looks disgusting as nail varnish!
 The Victoria Blazer really is quick to sew up! It’s not too tailored, which I like – it gives it a more relaxed feeling. I think if I was in a really tailored blazer with this dress I would have felt my outfit was less young, if that makes sense? I love a tailored jacket, but with like skinny jeans. I thought about leaving off the cuffs and collar, but decided against it as I was worried it would look really weird! It was fun to sew this up in a knit – albeit a knit without a huge amount of stretch. I made sure the stretch went across the body and not up and down – I didn’t want it sagging! Because this is a pattern for wovens, though, I used a straight stitch and sewed it up as though it was a woven. Luckily I have a little left of the fabric, so I’m thinking a Colette Astoria, which I just bought in their sale this weekend!
 All in all I think this was a successful wedding outfit! And I mastered sewing with lace for the first time! Hurrah! Also, I’ll definitely get lots more wears out of the jacket, so it’s not an entirely ‘special occasion’ outfit.
I’ll leave you with a photo of me and The Boyfriend tearing up the dance floor! Sorry-not-sorry for my slightly manic face.


Save
Save